
Let's walk through this together.
Open up this link in the other tab, and then come back here to follow along to the steps!
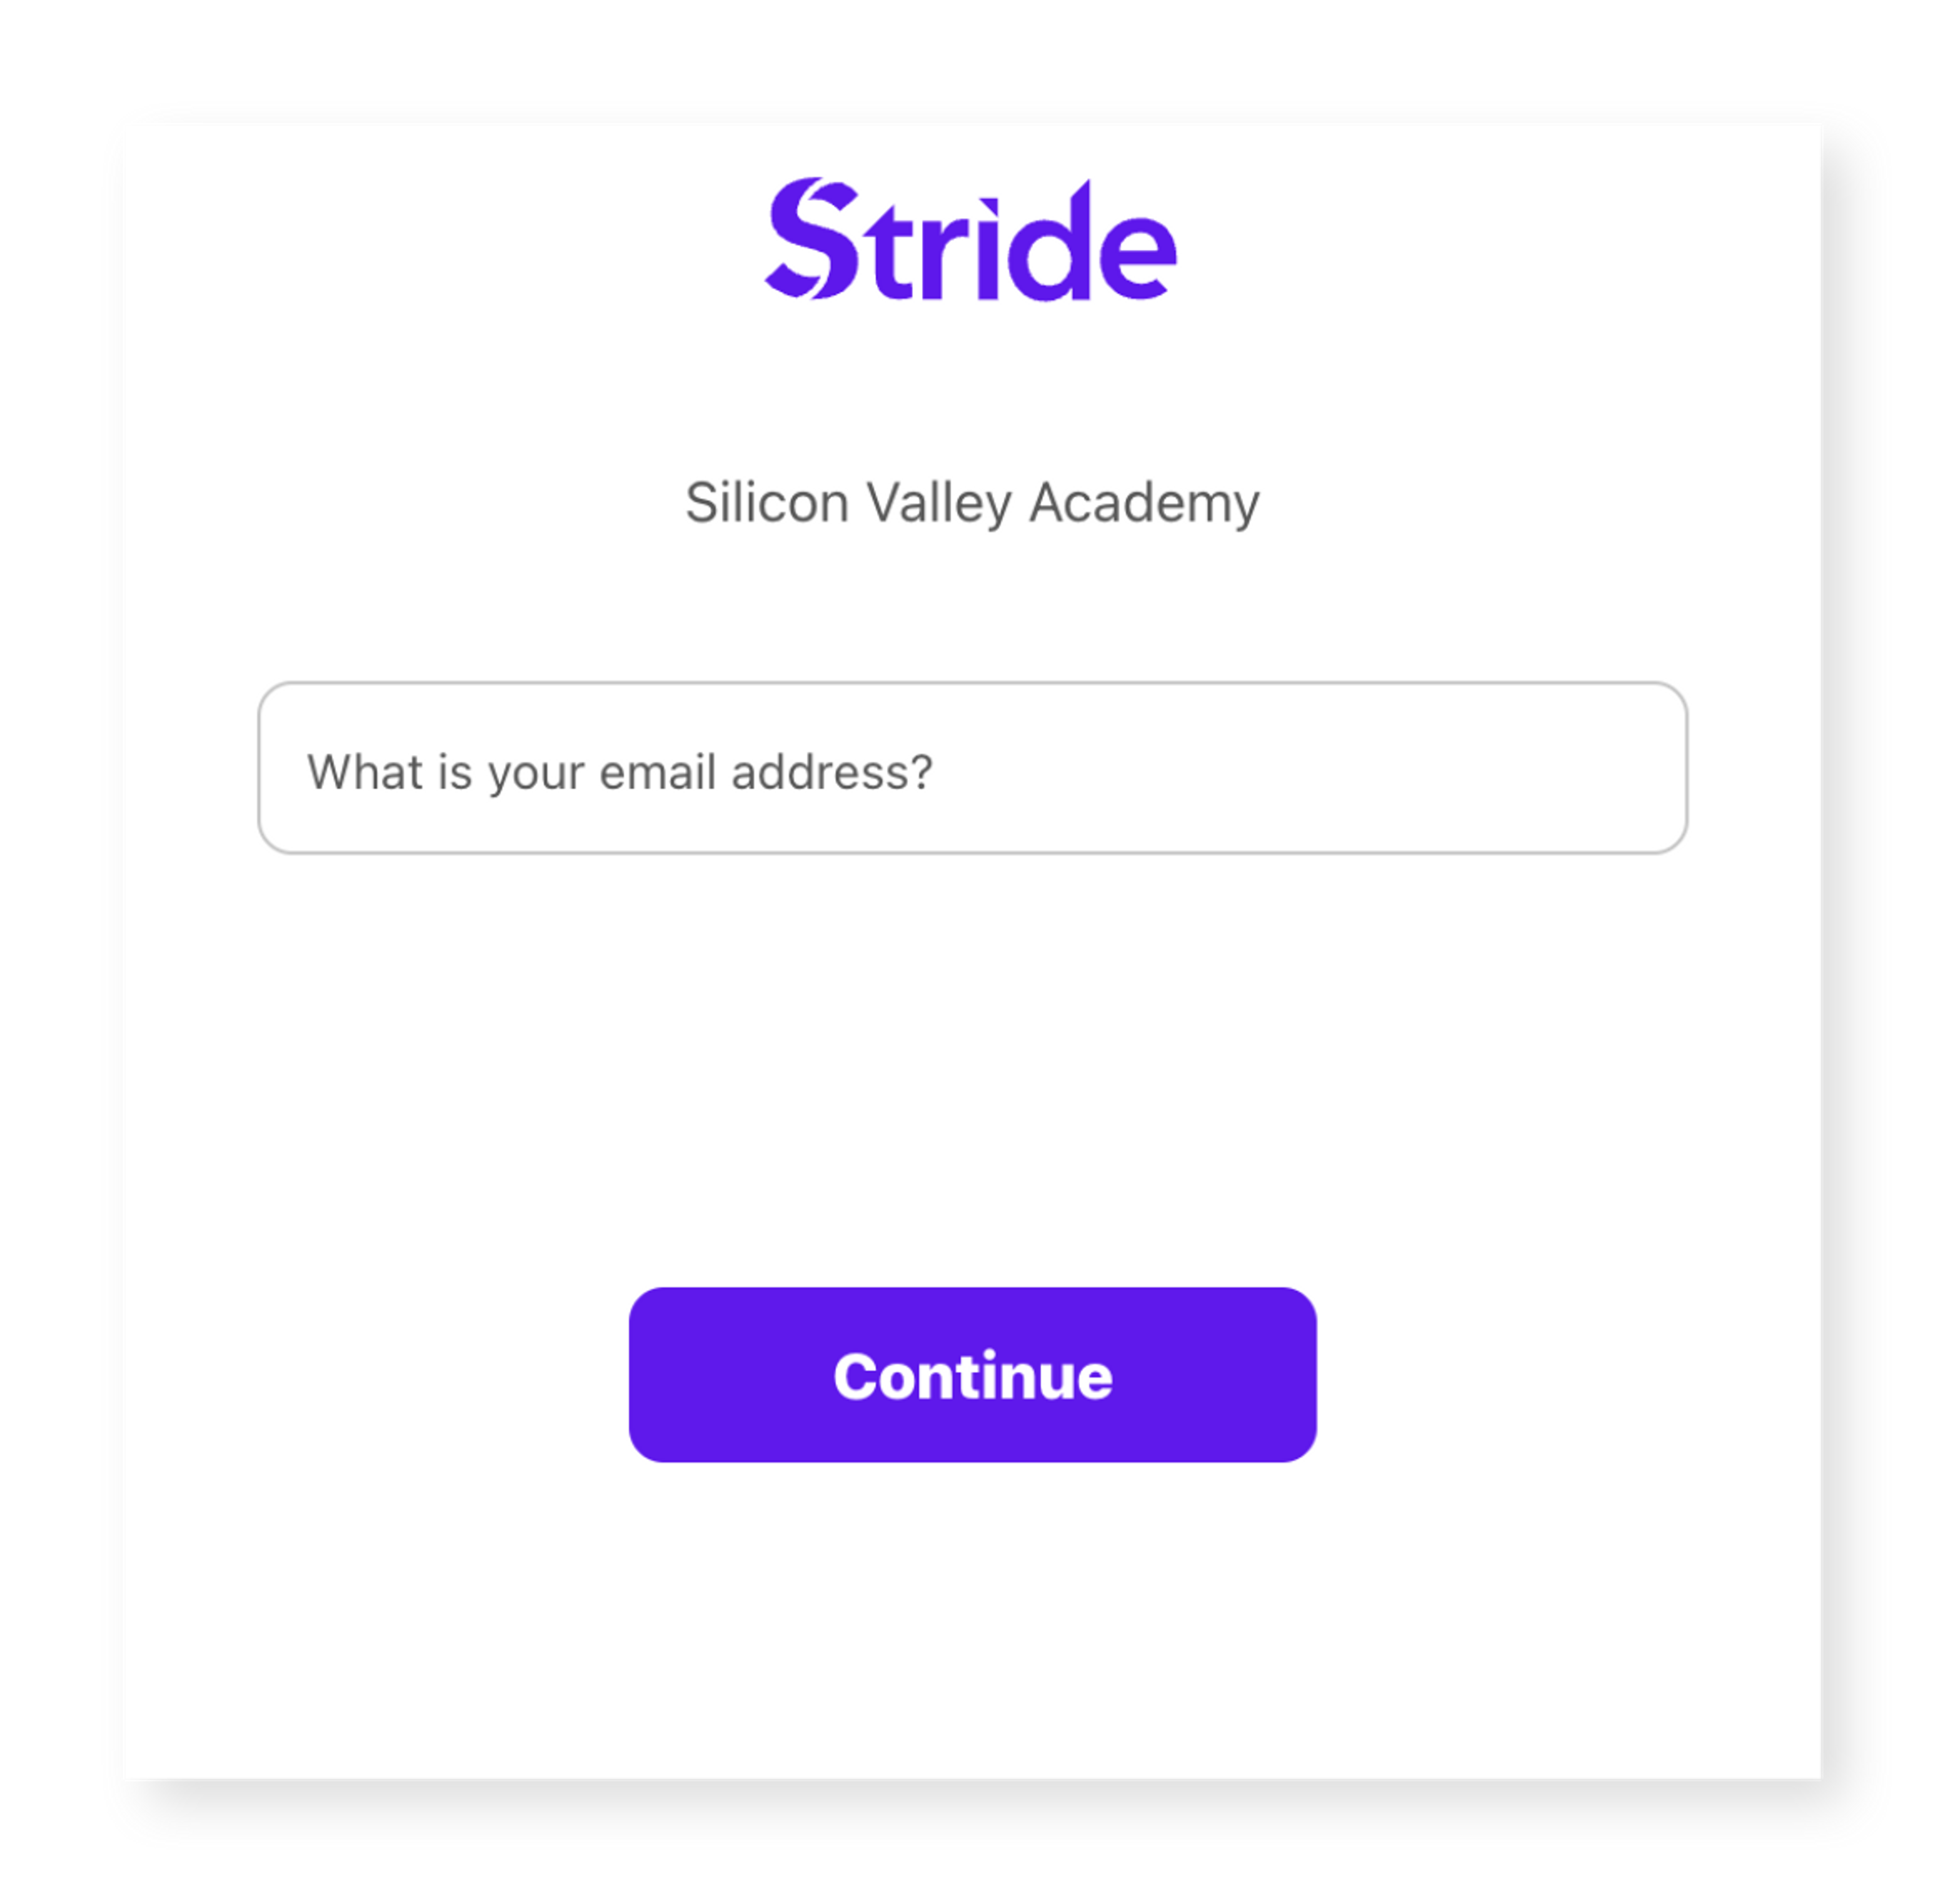
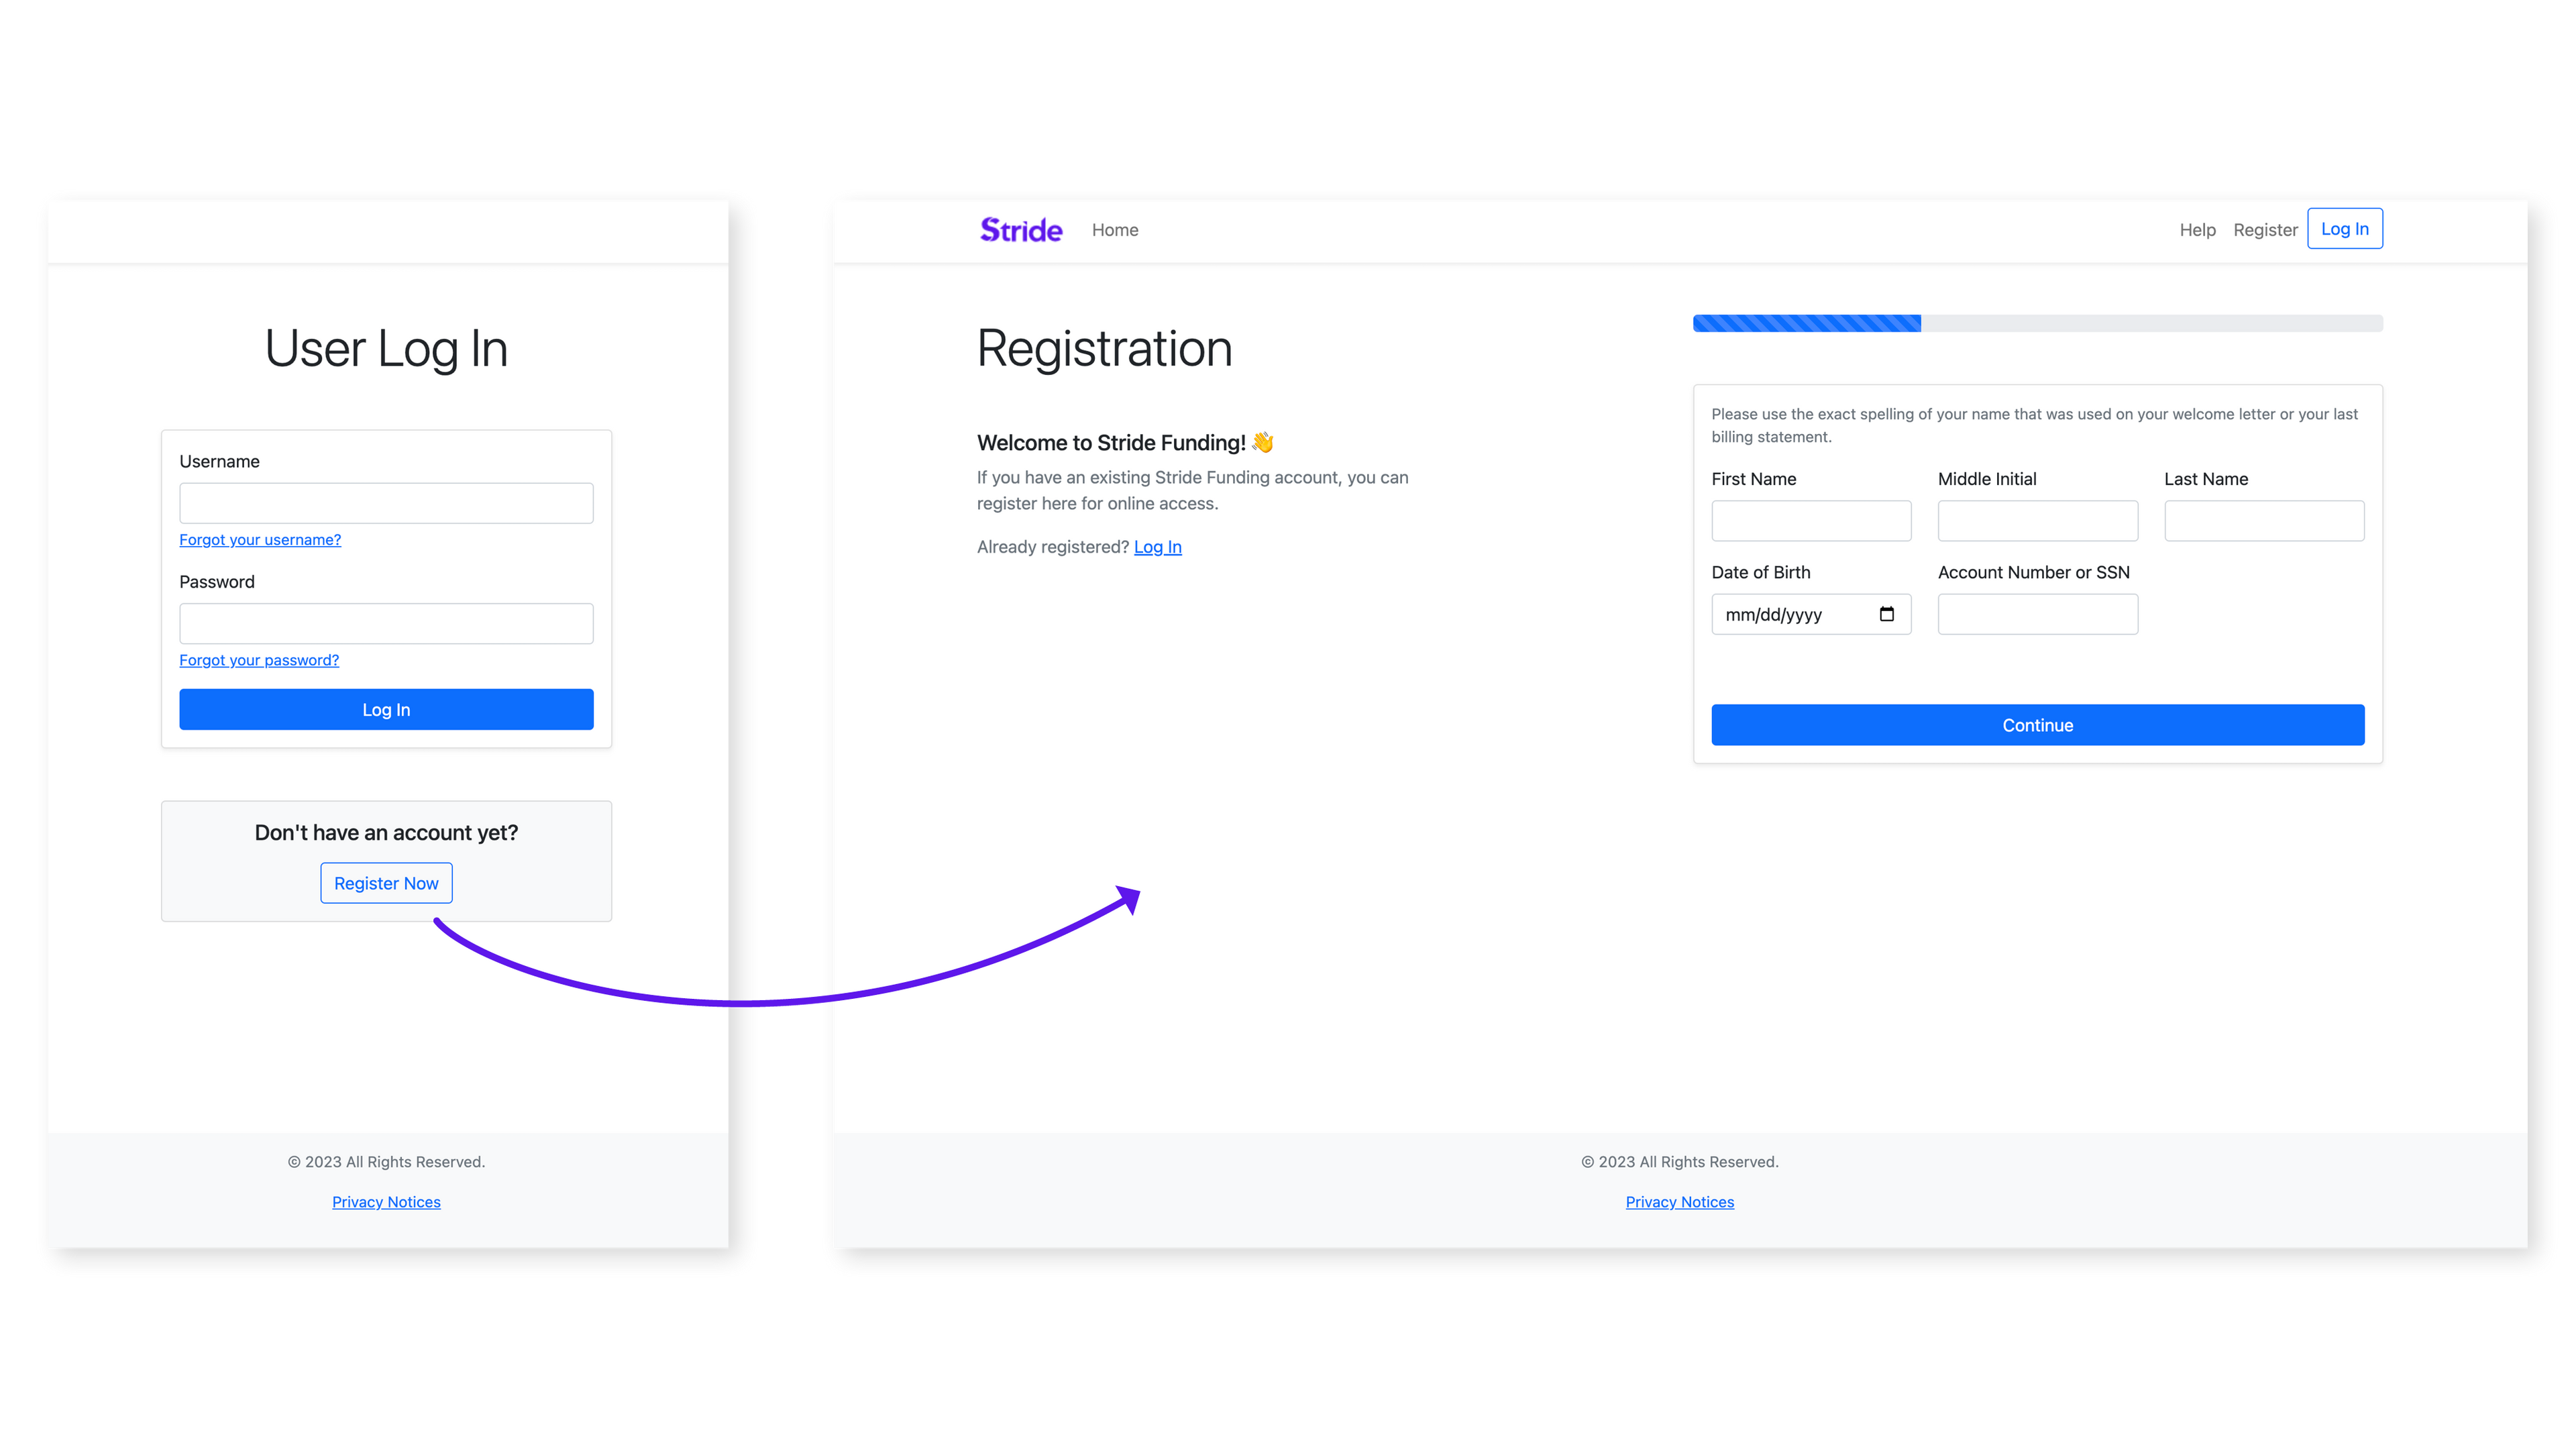
Start at Your PortalStep 1:
Set up your account by entering your email and following the on-screen instructions

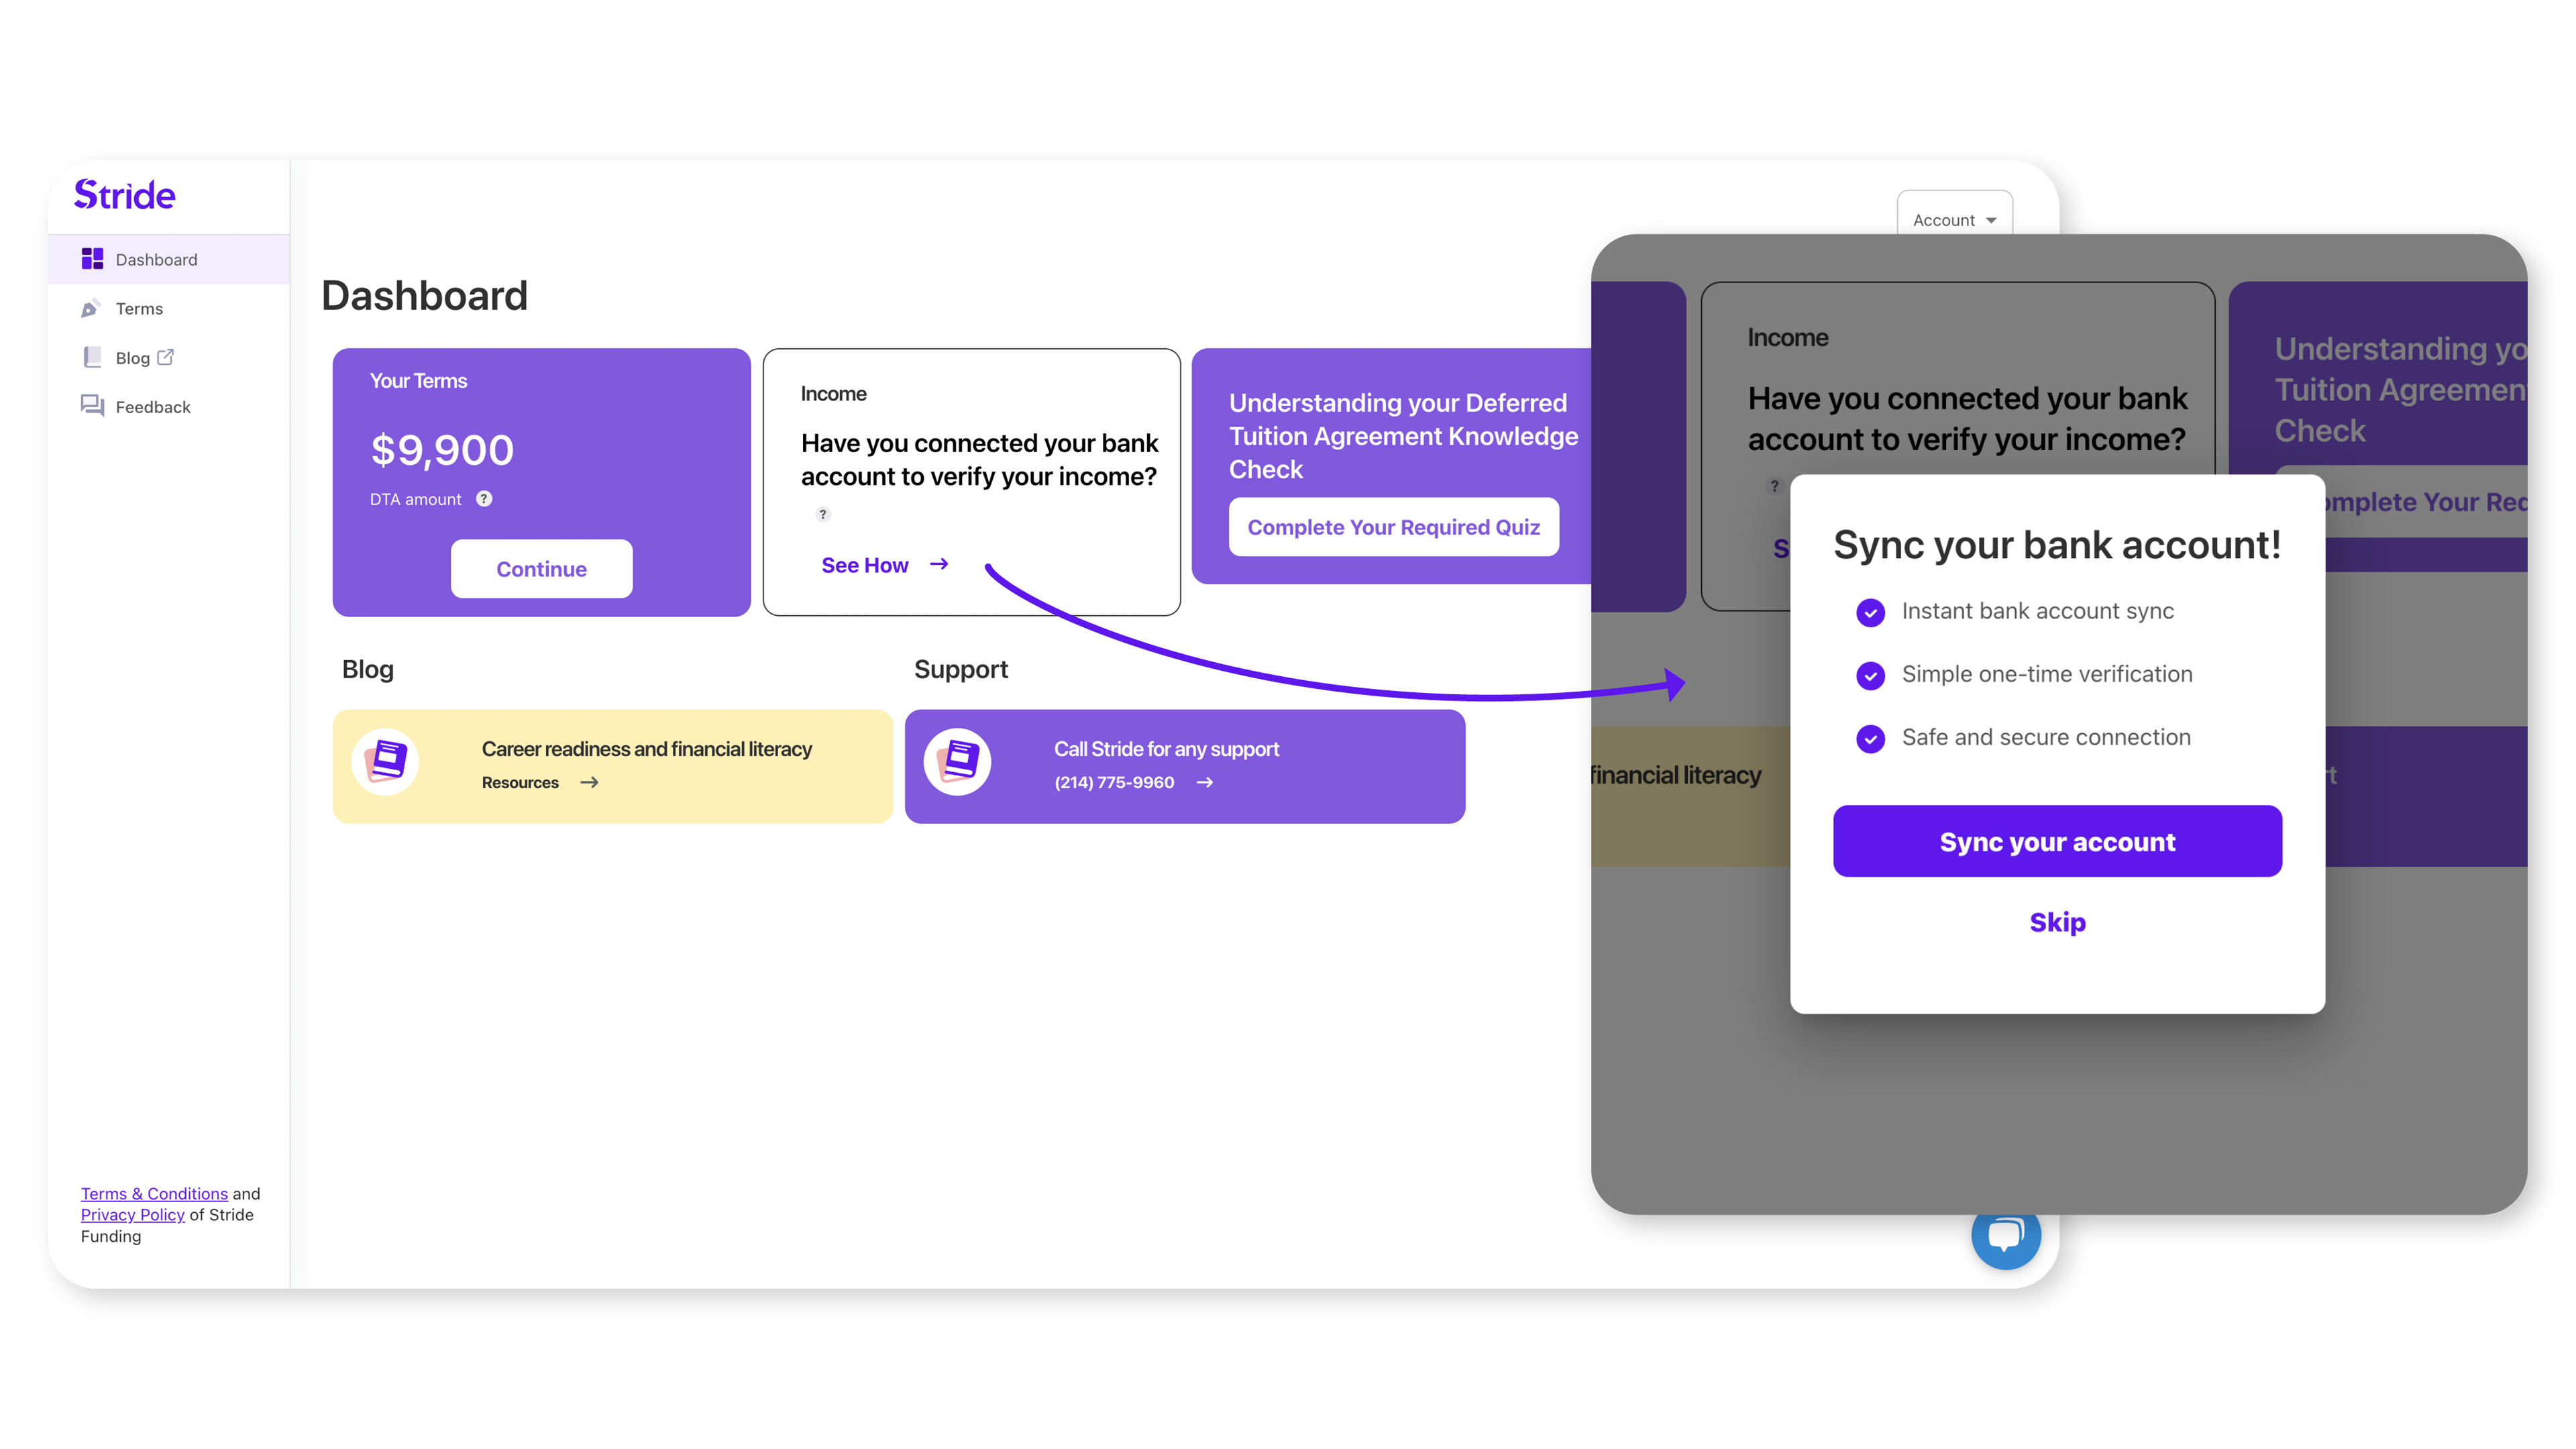
Step 2:
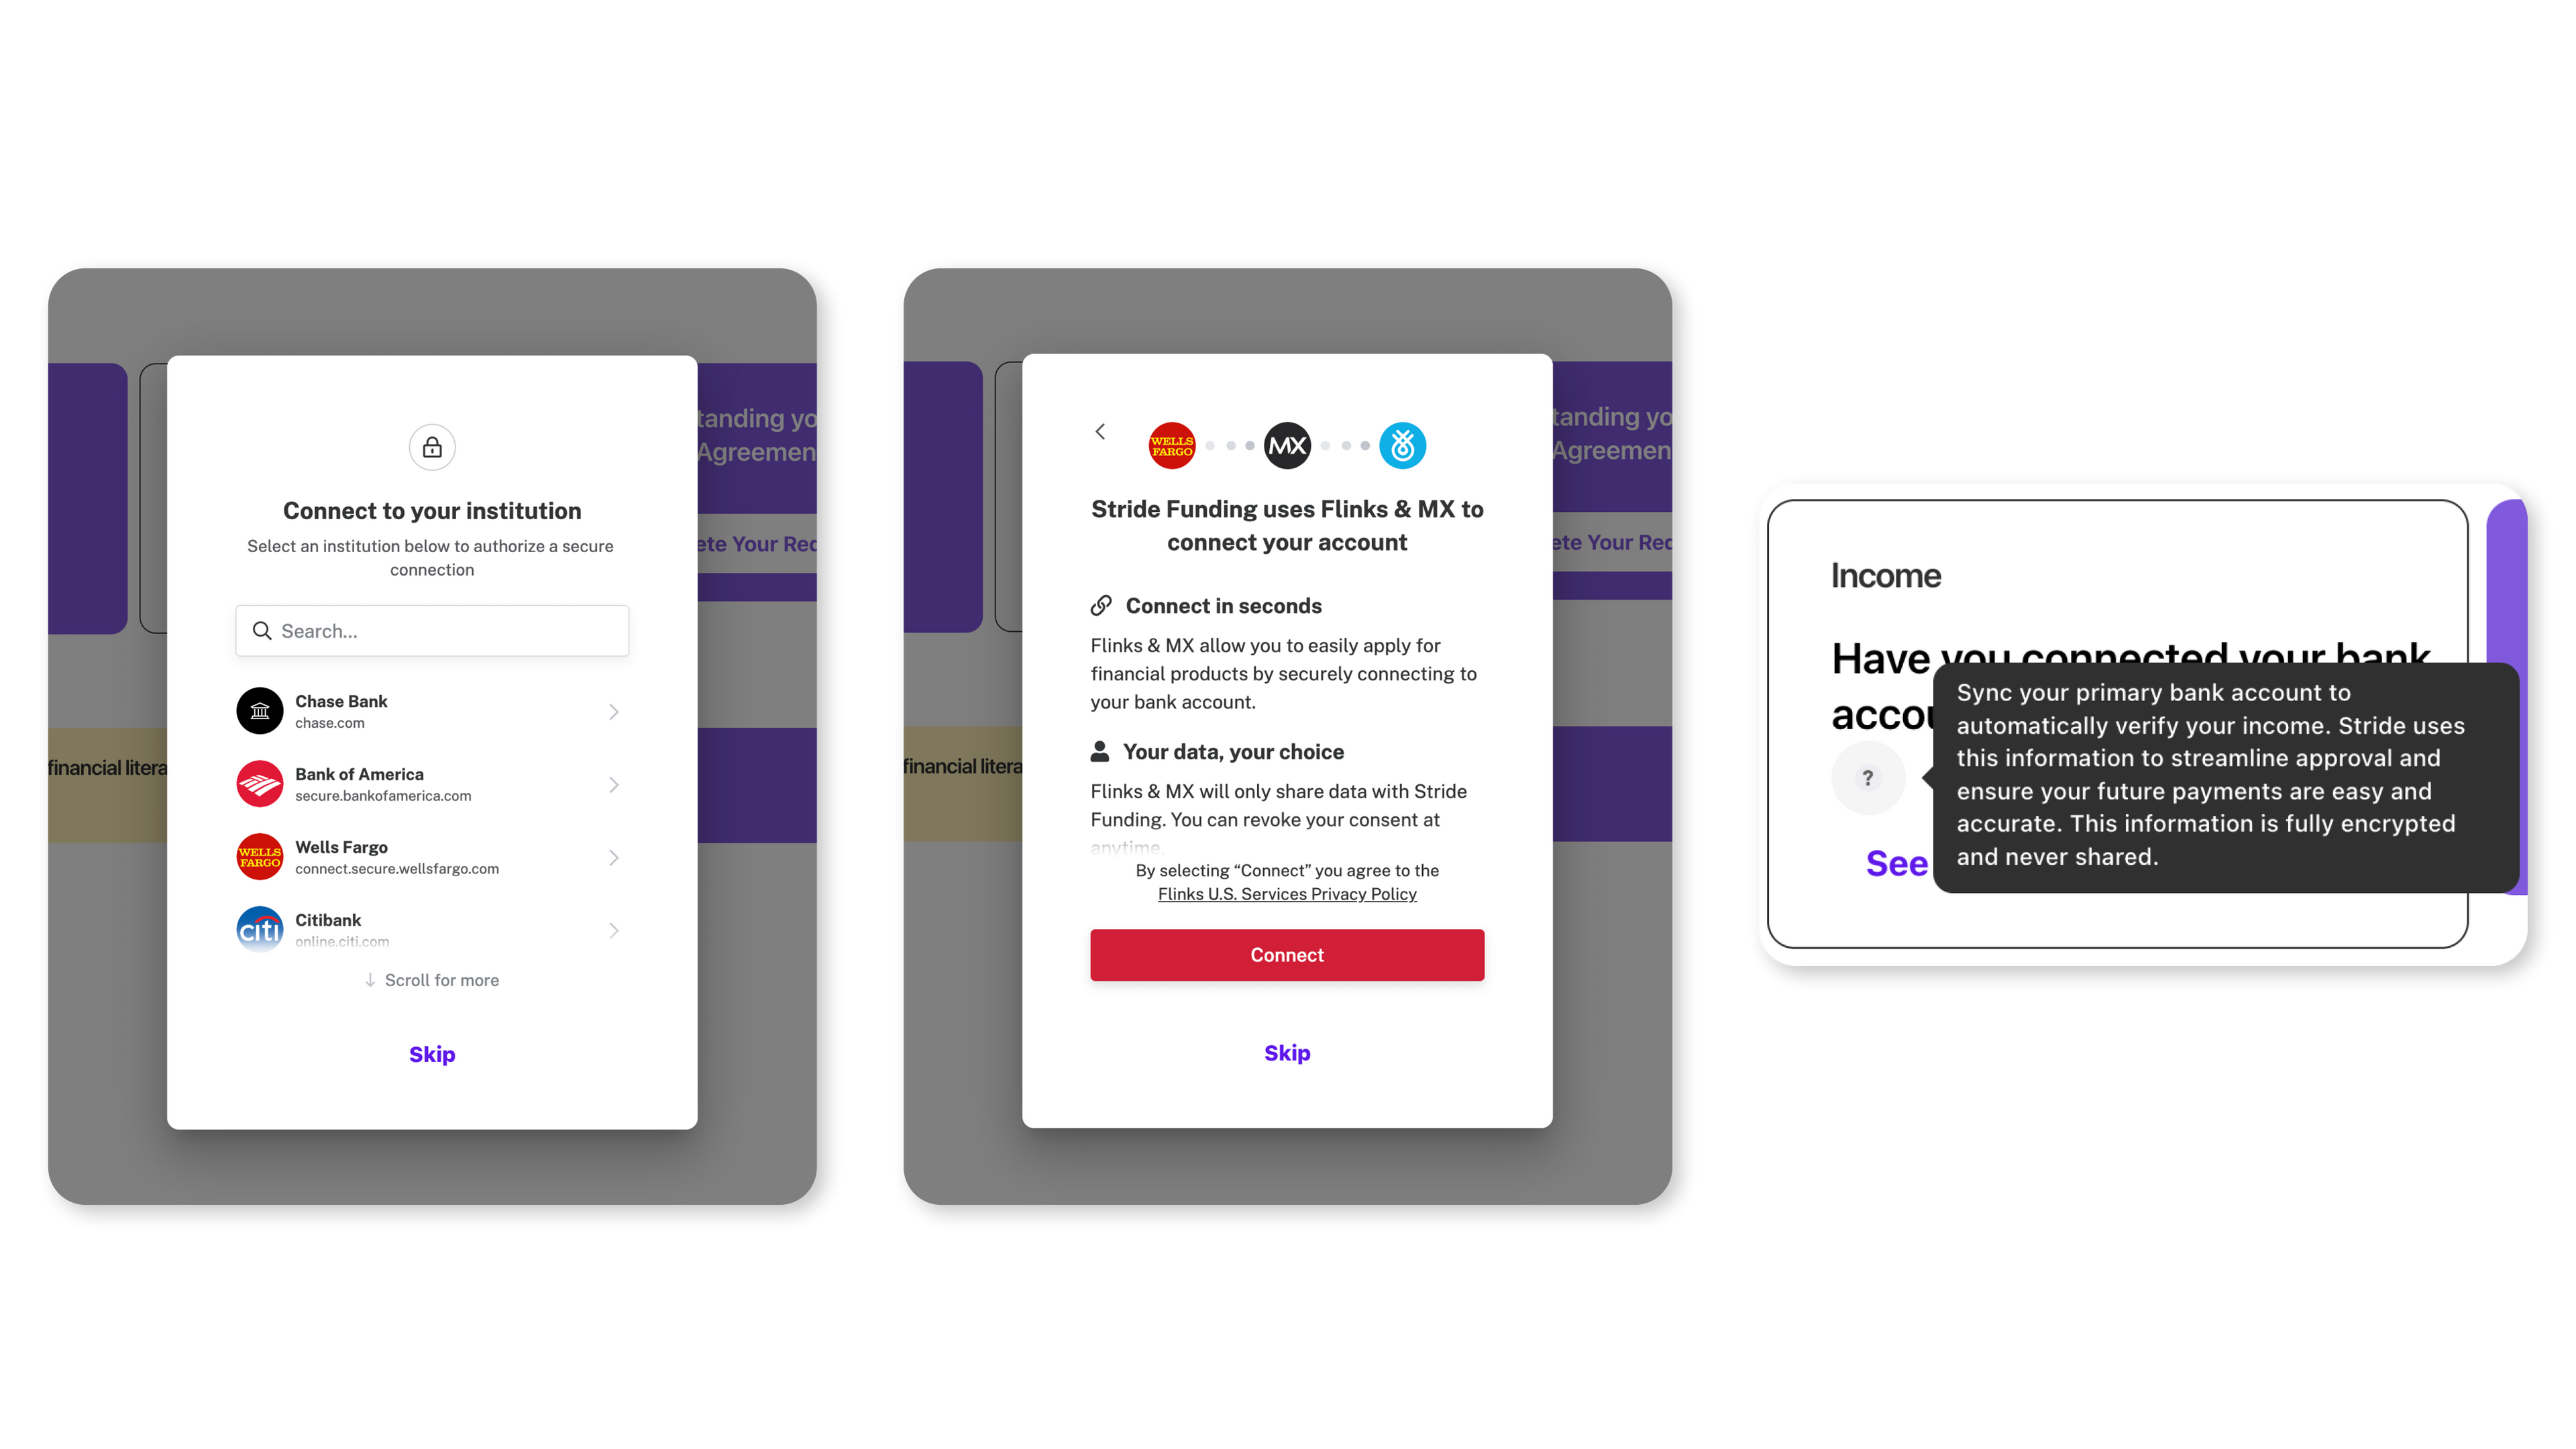
Sync your banking information
We suggest syncing your bank account via Flinks!
It's a quick & easy, one-time sync + helps avoid inaccurate billing or having to manually report your income
Another little tidbit!
With some more text
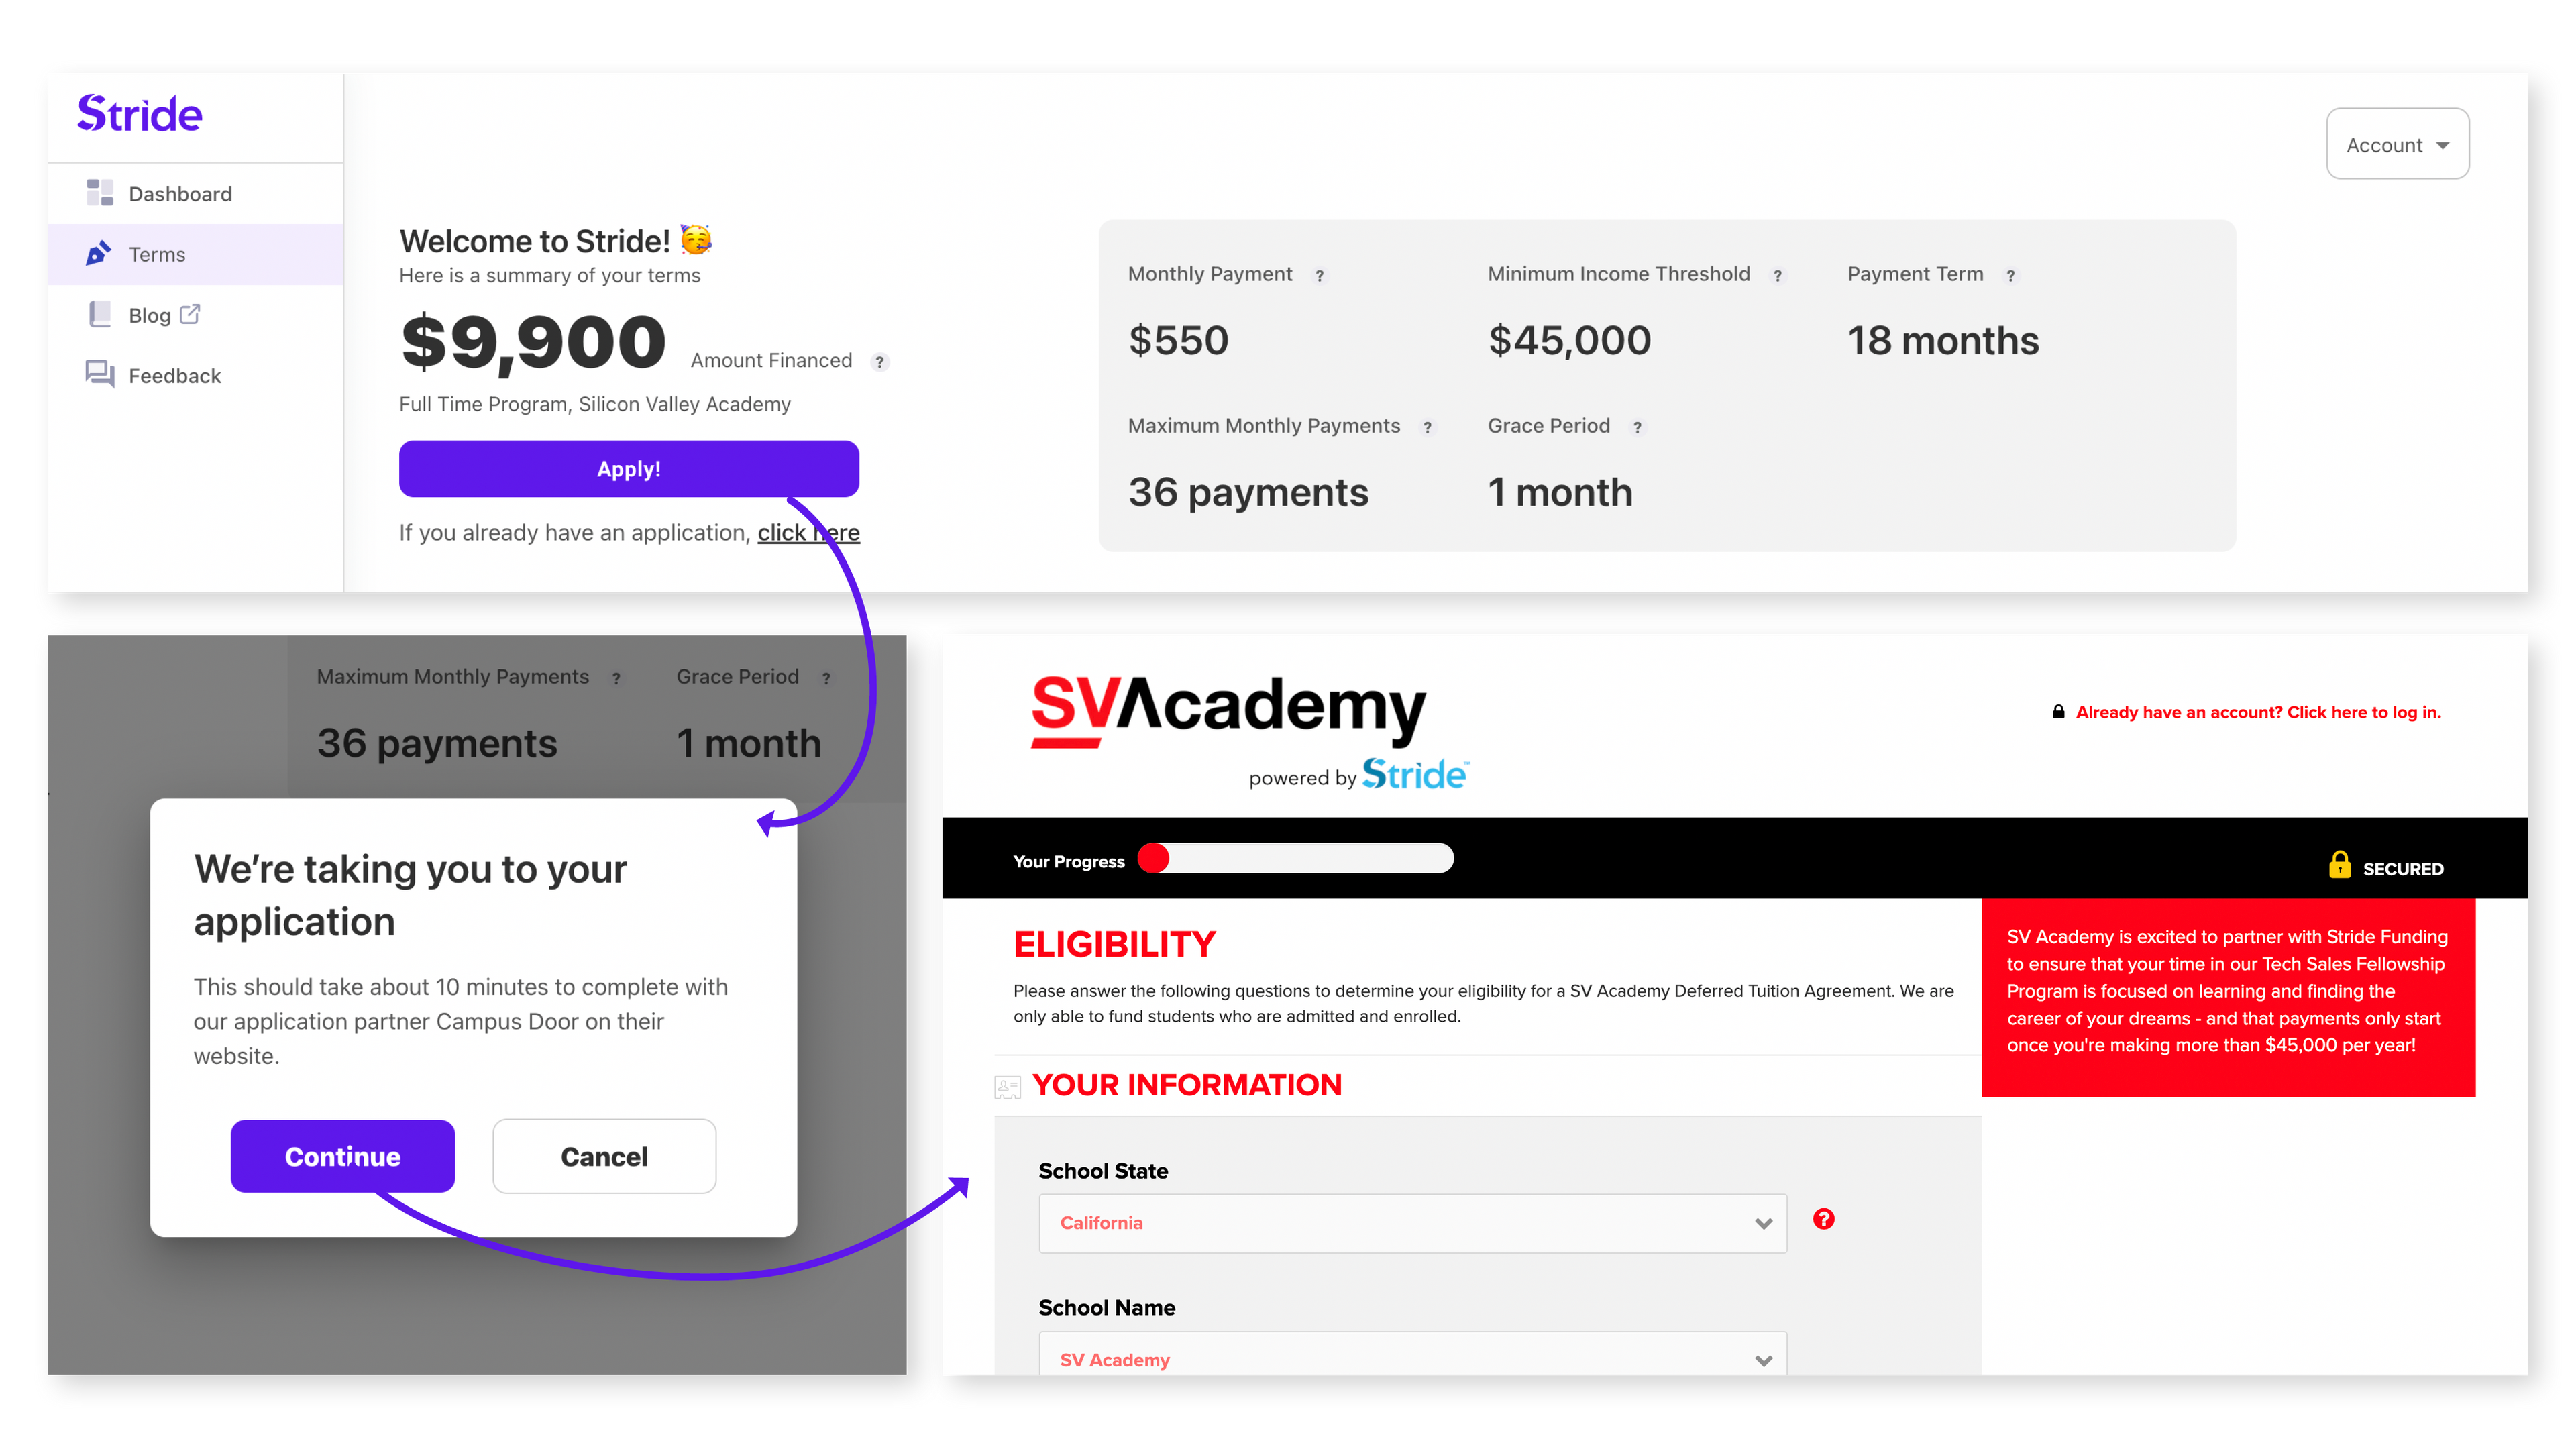
Step 3:
Complete your application for funding
Complete your application for the Deferred Tuition Agreement (DTA)

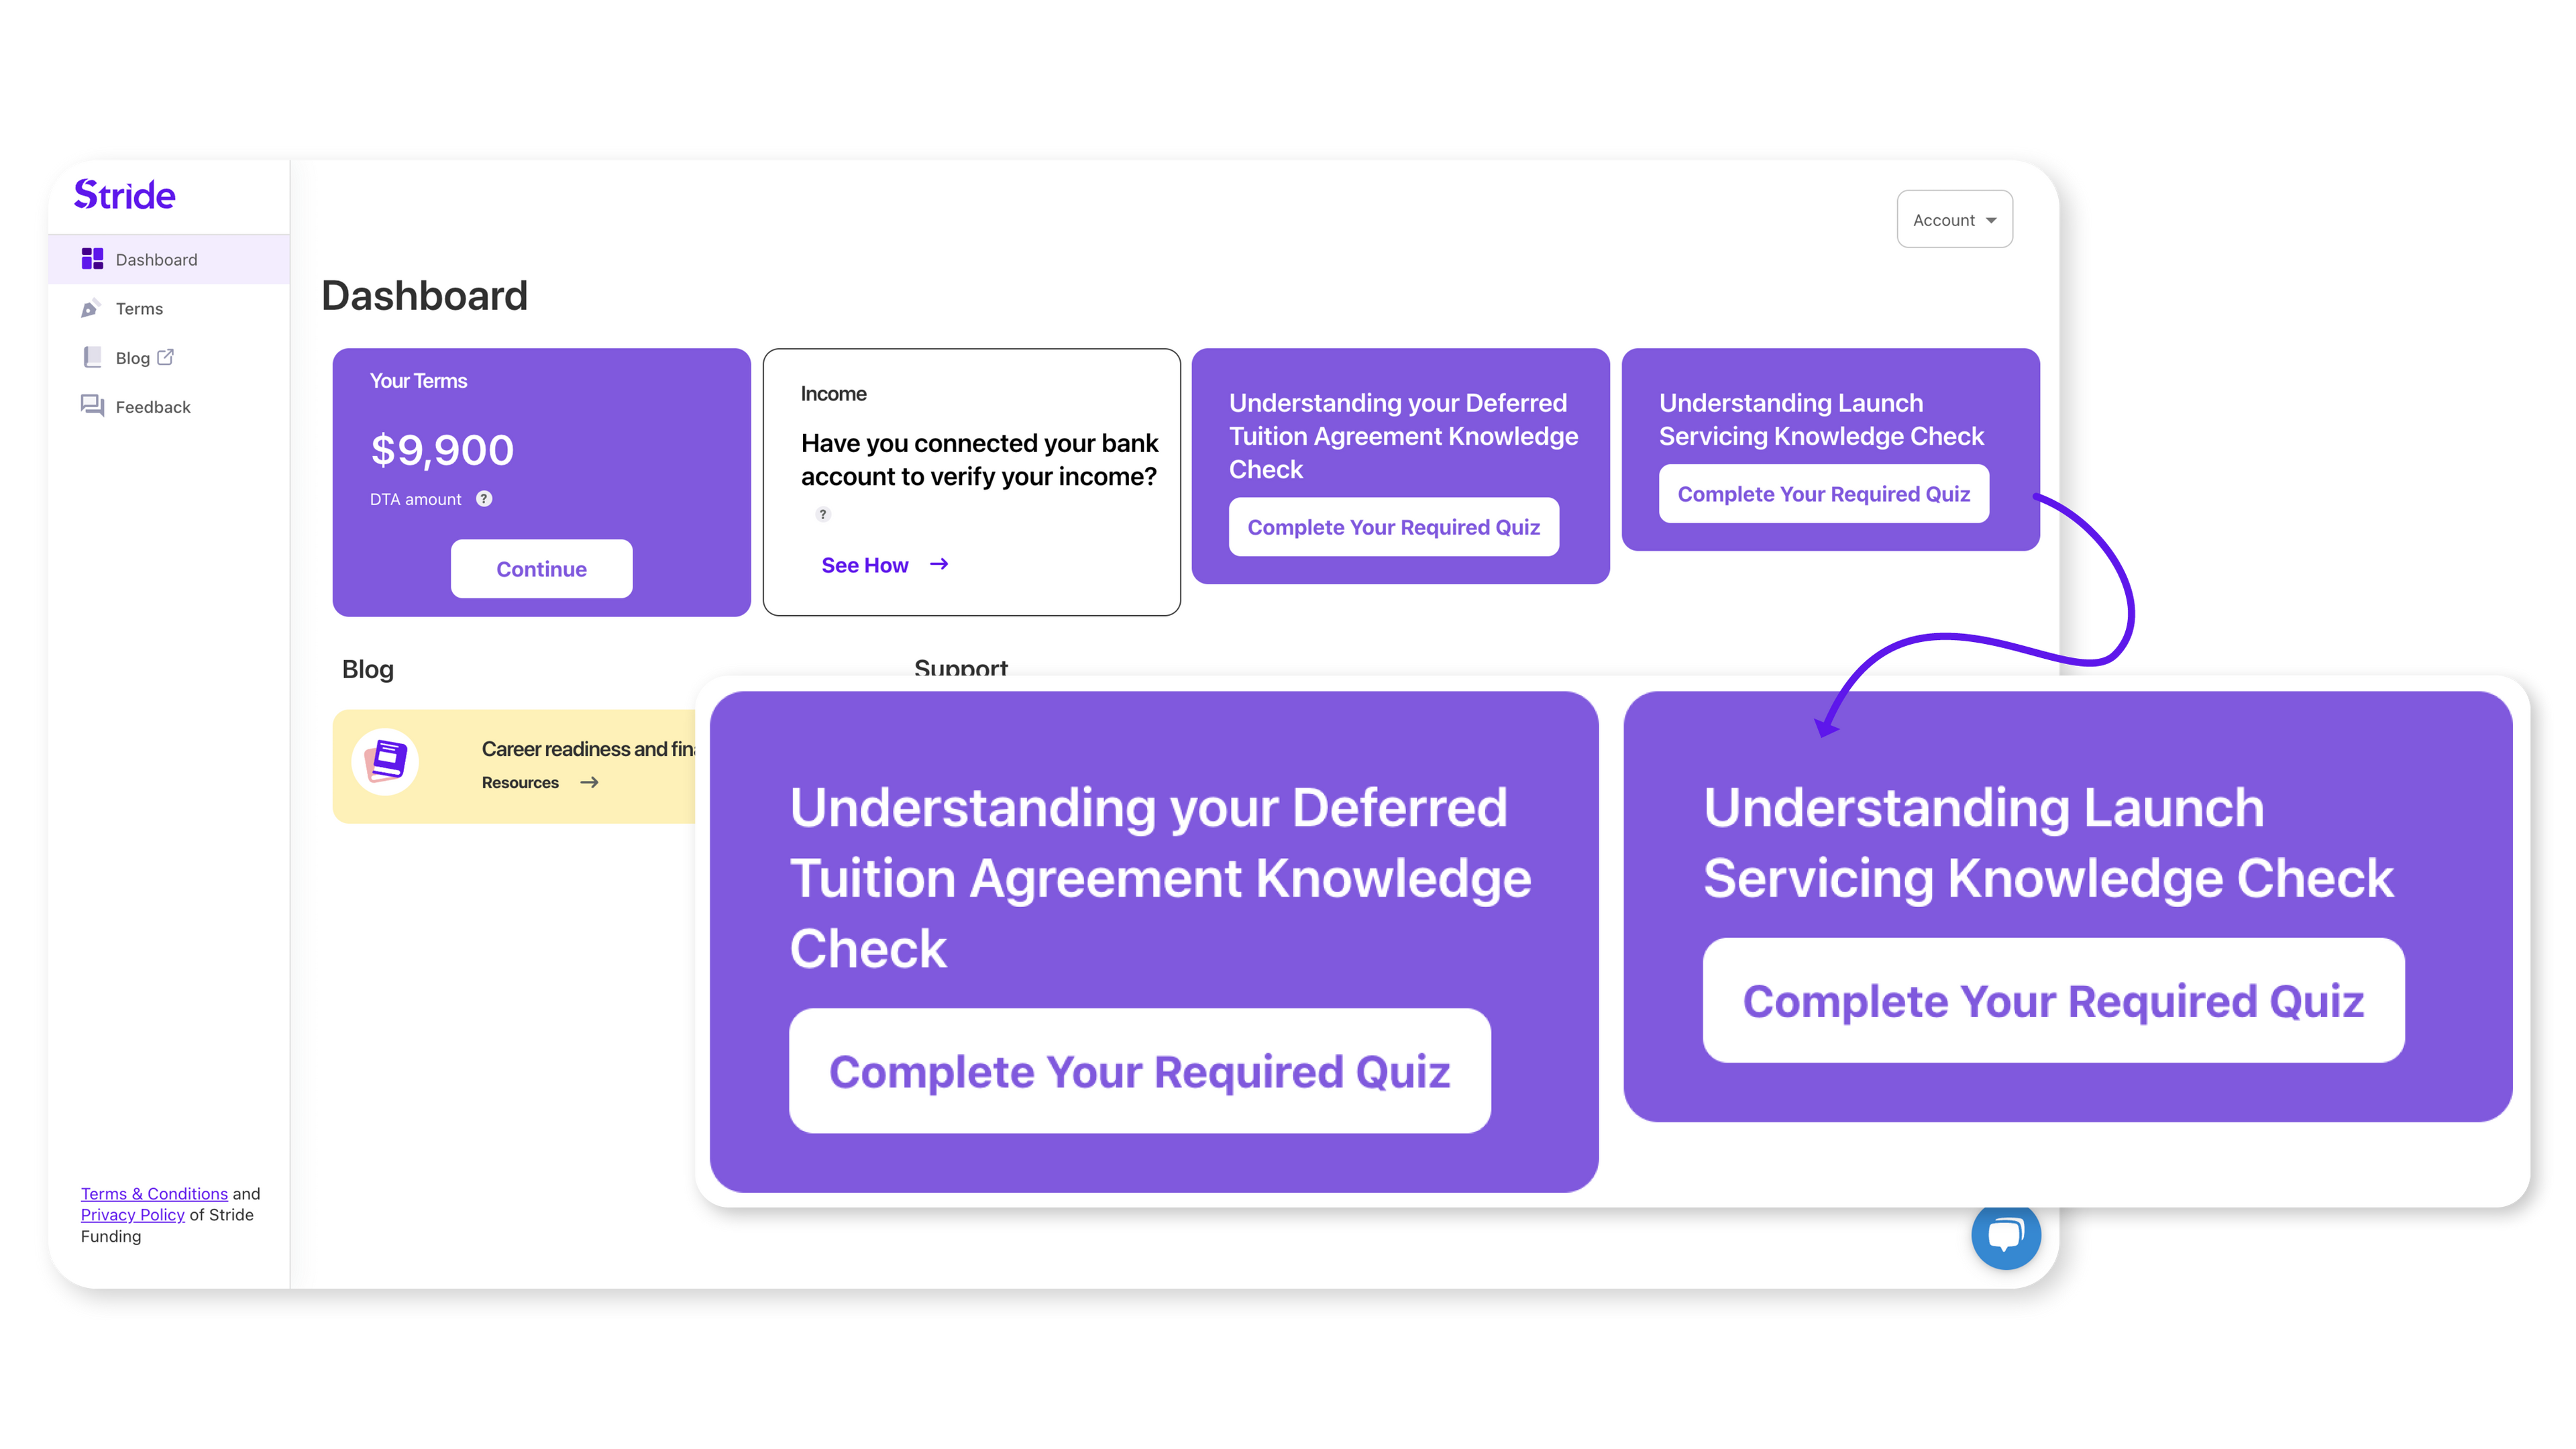
Step 4:
Complete your required quizzes
Return to your portal and complete the two quiz modules on your dashboard
Step 5:
Set up & login to your Launch Servicing account
This is where you’ll manage your payments, check the status of your account, communicate with the servicing team, and more.
Step 6:
Enroll in AutoPay - "Set it & forget it!"
Set up your payments ahead of time! Go to stridefunding.launchservicing.com
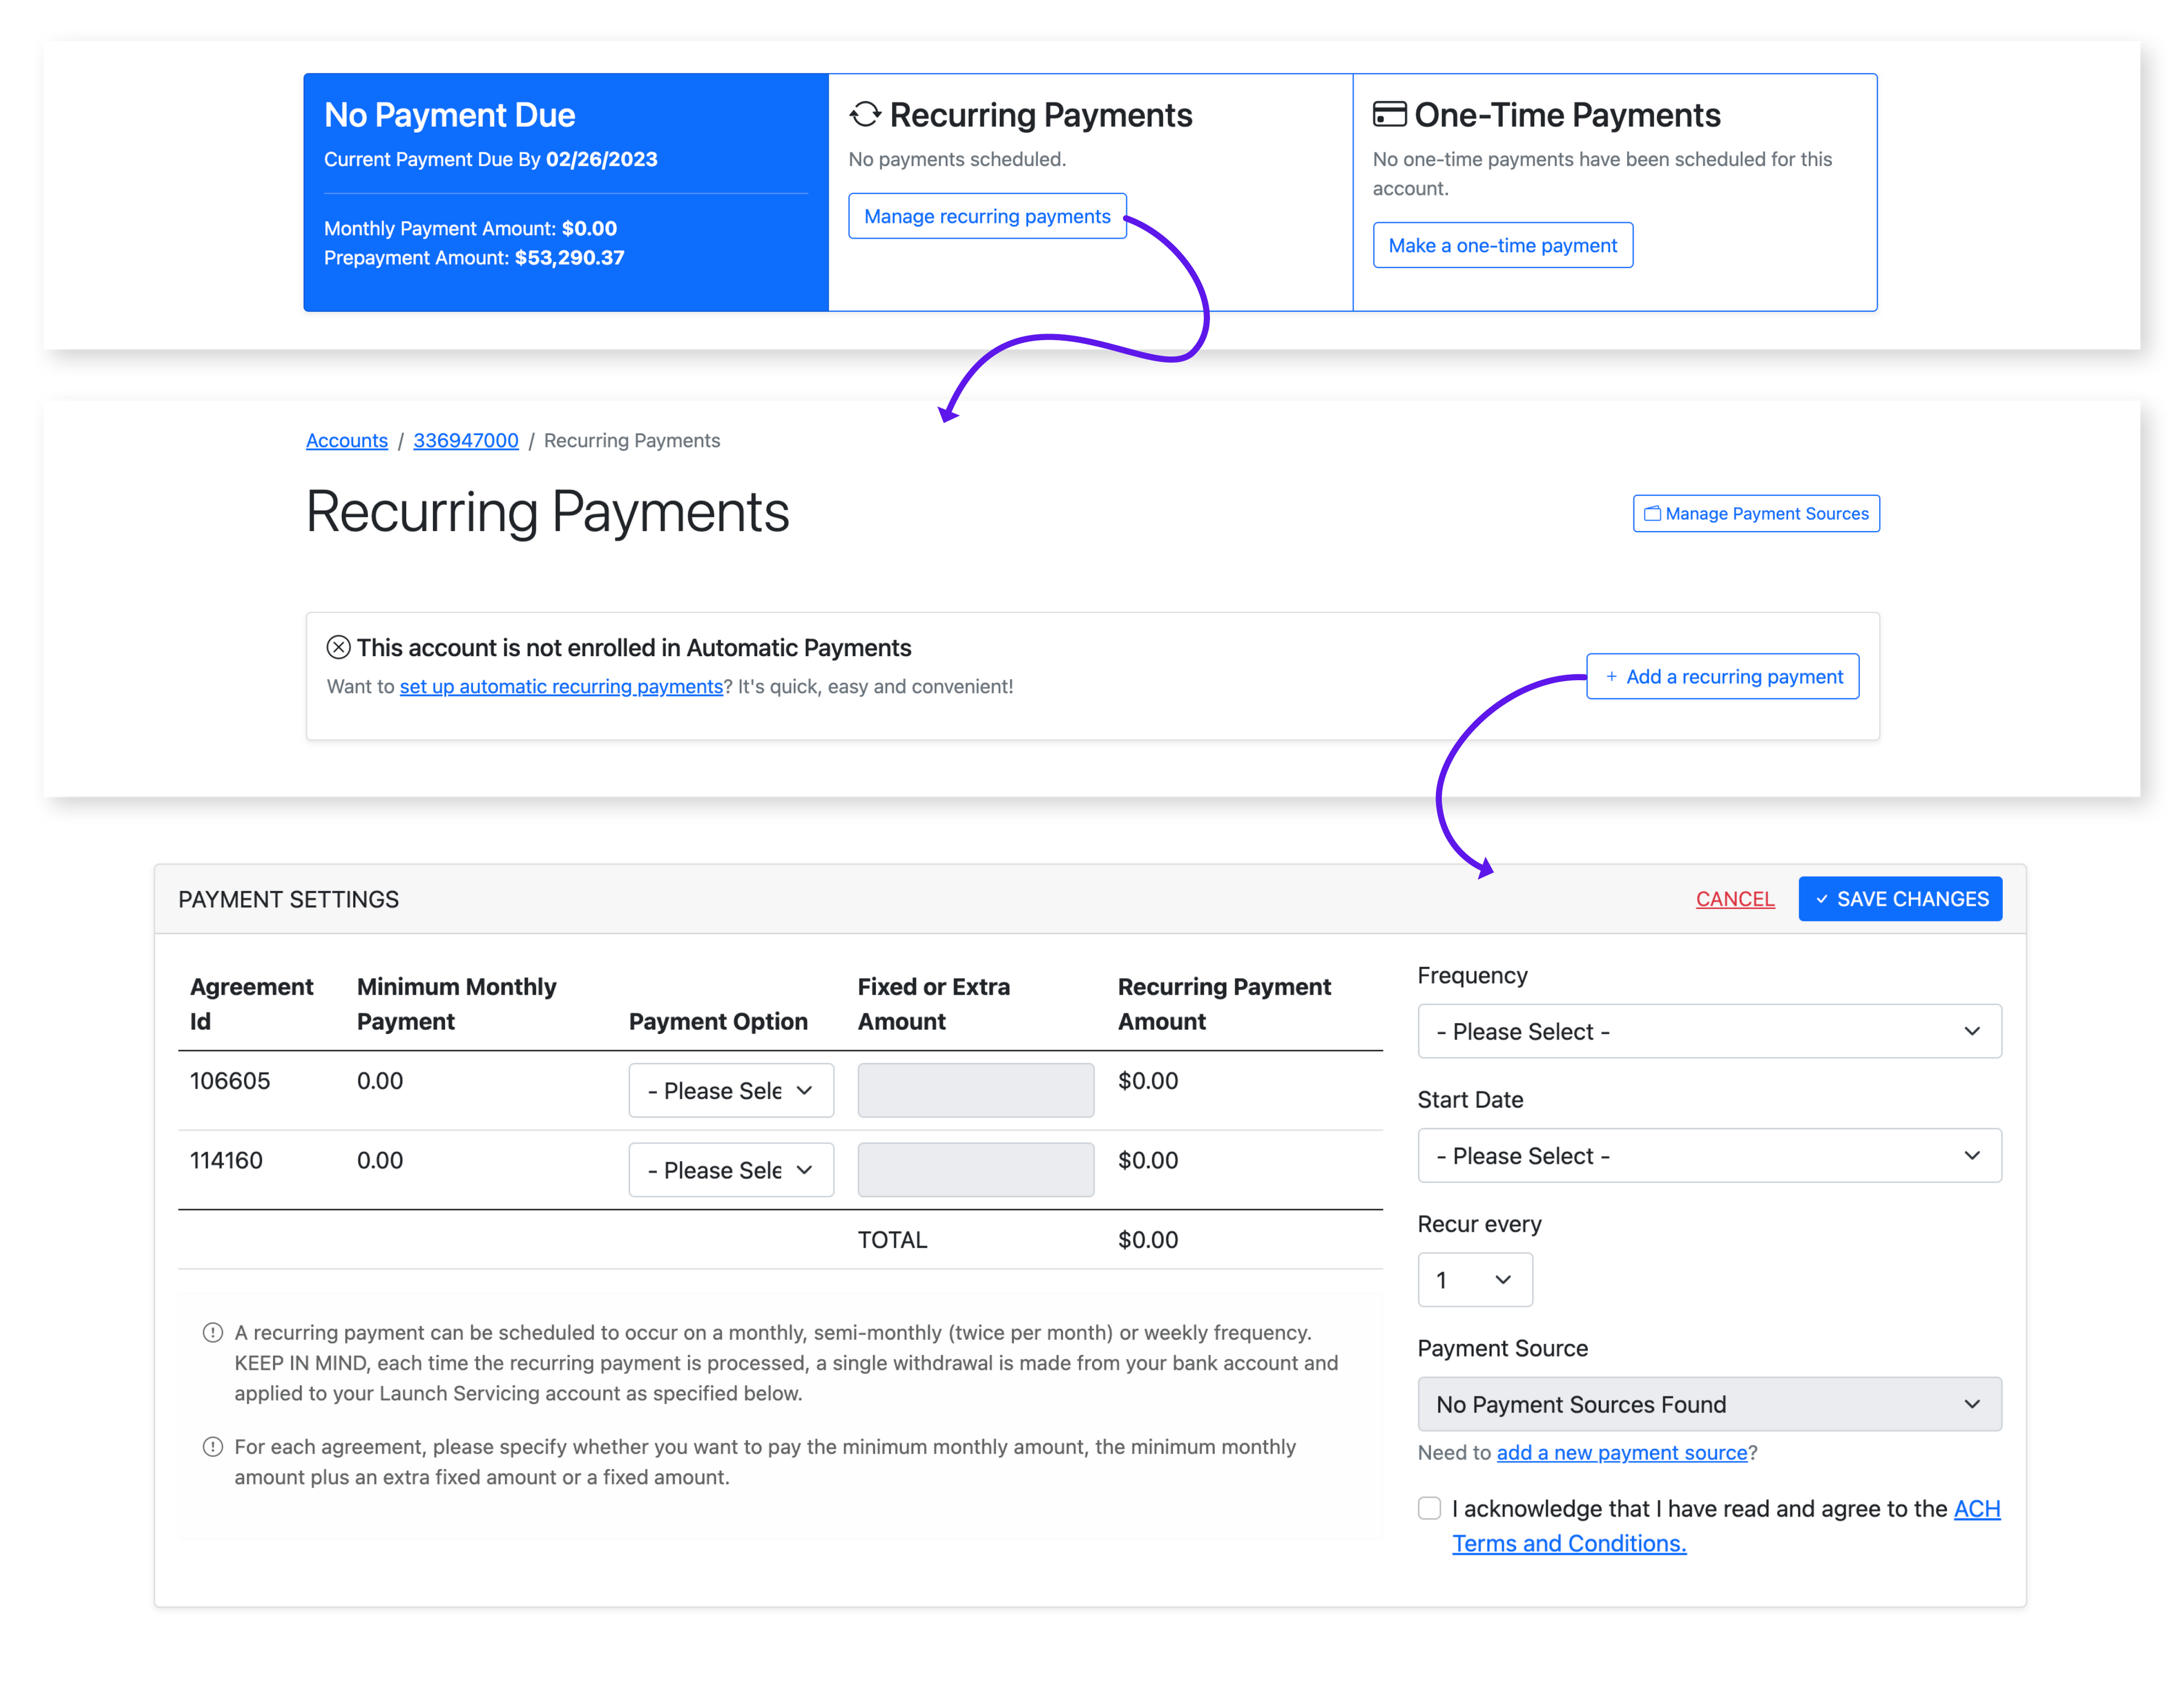
1. Sign into your account
2. Click “Manage Account”
3. Click “Manage Recurring Payments”
4. Click “Add a Recurring Payment”
5. Fill out the information following the on-screen prompts
6. Voila! Now you won’t have to worry about making manual payments each month.
You're all set!
If you've made it this far, congrats! Your account is all set up and good to go.
If you have any additional questions or need help setting up your account, feel free to Contact Us at 214-775-9960 or email us at hello@stridefunding.com